Does the nightmare of floating away on the open sea keep you up at night? Do you cringe at the thought of being adrift with no direction and no way of getting home?
Although unlikely, it could happen if you take to the water with no understanding of navigation.
While most boats are equipped with navigational systems, it’s always a good idea to know basic boat navigation by traditional means. You never know when your electronic systems may fail.
To brush up on your equipment, regulations, and how-tos, check out this helpful guide!
Rules of the Road
The Convention on International Regulations for Preventing Collision at Sea lays out “rules of the road” for aquatic vessels – much like a new or used truck you need to know what to do when you come to an intersection with another boat, which boat has the right of way, how to operate on the open waters safely, etc.
This convention also provides information on Aids To Navigation, which are man-made objects, such as lighthouses, buoys, lights, and fog signals, that are used to determine a position or course. Aids to Navigation will be found on your charts.
Here are your basic Aids to Navigation:
Port Side Aids
These aids are numbered with odd numbers. They are always green, and if they feature a light, they are lit with a green light. They will be located on the port side (the left side) as you travel upstream.mPort side buoys are cylindrical and often called CAN buoys. They have square marks attached to them.
Starboard Side Aids
Starboard aids are red, evenly numbered, and located on the right side as you navigate upstream. These buoys are shaped like cones and are commonly called NUN buoys.
Starboard side buoys have a triangular mark attached. Any lights attached to these buoys will be red.
Regulatory Aids
While port and starboard side aids give navigational guidance, regulatory aids inform boaters of restrictions and other dangers.
All regulatory aids are white cylindrical buoys with an orange topper. These buoys have different types of marks attached, depending on the purpose of the buoy. Here are the common ones:
- A square or rectangular shape conveys instruction
- An open diamond shape conveys danger
- A diamond with a cross in it conveys an area you may not enter
- A circle conveys a restriction, such as a speed limit
Knowing your Navigation Rules, along with some boat etiquette, is only half of the basics of navigating a boat. Keep reading to learn the other half.
Basics of Boat Navigation
The other half of navigation is knowing where you are, where you’re going, and how to get there. Most modern vessels have electronic panels that do the hard work for you, but it’s always a good idea to know how to do it the old school way in case your electronics fail on the open seas.
Traditional Methods: Charts
The safest thing is to have recent charts onboard. You can buy charts from any local boating store, or download NOAA charts and print them. Other tools you’ll need to navigate by traditional methods include:
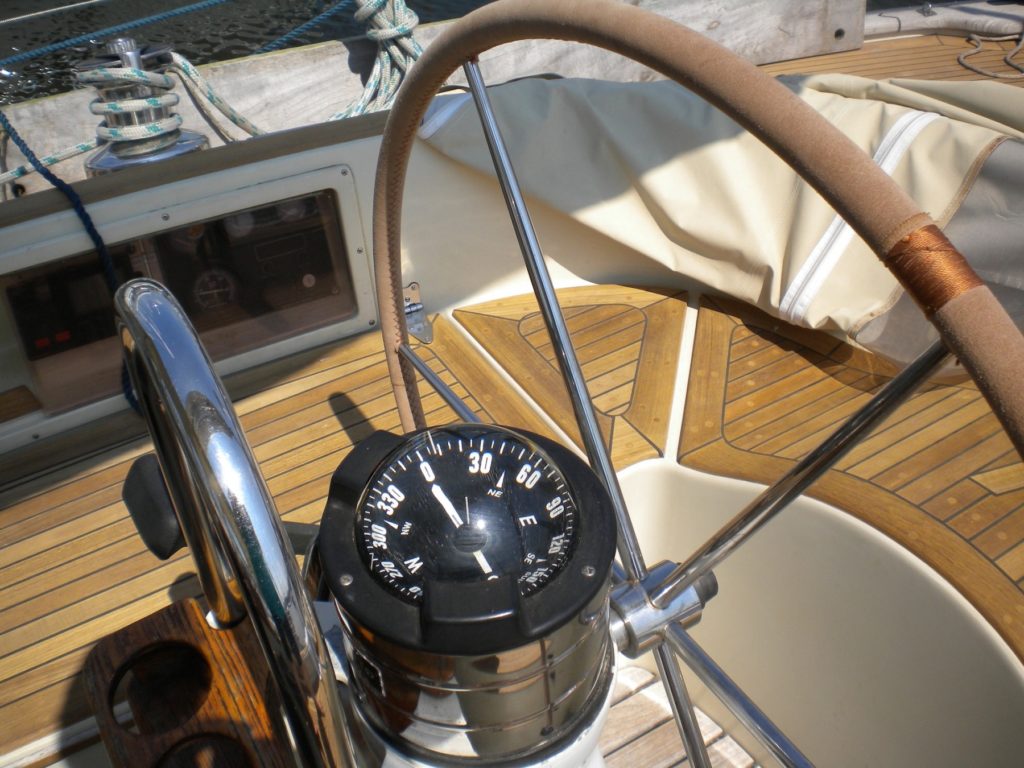
- A compass
- Parallel Rules
- Dividers or compass dividers
- An erasable pencil
- A wristwatch or stopwatch
Once you have all the tools, you need to be able to perform the three main functions of navigating – finding your position, charting a course, and ded reckoning.
Locating Your Position
If you’re near some aid to navigation, like a numbered buoy, it’s easy to see where you are on the chart. It’s a lot harder if you’re in unfamiliar waters. You may require triangulation.
To triangulate your location, pick three landmarks from the chart that are relatively far from each other, but visible from your vessel.
Use your compass to find the bearing of the first landmark. Then line up your parallel rules to the compass rose on the chart and match the bearings to the degrees. Walk the rules from the compass rose to the landmark.
Draw a straight line down the rule’s edge. Then repeat the process with both of the other chosen landmarks. Where the three lines intersect on the chart is your location.
Creating a Route (And Reciprocal Route) with Bearings
To chart a route, lay the parallel rules at the starting point. Use the edge of the rules to draw a straight line on the chart. Walk the rules until the edge intersects with the compass rose.
This will give you the bearing of your first line. Make sure you write down the bearing next to the line. Repeat this process to create additional legs of the trip.
As you travel each leg, you can use your precalculated bearings to stay on course. A quick glance at your chart will tell you what your compass should be reading.
To chart a reciprocal route (the reverse course to get from the finish destination back to your starting point), it’s simple math. The reciprocal bearing will always equal 180 degrees away from your original bearing. Adding or subtracting 180 from your original bearing will give your reciprocal bearing.
Ded Reckoning
Ded reckoning is short for deduced reckoning. It’s a means of navigation that uses known locations, length of time, bearing and speed to give you an approximation of your current position on the chart.
Ded reckoning is not 100% accurate. Wind, current, and how steady your course is can add up to significant error over long trips.
Electronic Methods: Chartplotters
Chartplotters are an electronic navigation system that can make charts unnecessary in daily practice. Although chartplotters can do all the work for you, knowing how to navigate manually is important in the event of electronics malfunction.
You’ll want to make sure that the charts used by your chartplotter are the most accurate and up to date. To ensure this, make sure your unit updates using WIFI or real-time updates using depth and GPS information. More expensive units typically have charts with more details and better information.
Locating Your Position
Check the screen for a little boat icon. This should give you your current location on the electronic charts.
Creating a Route (And Reciprocal Route) with Bearings
To create a route on your chartplotter, use the cursor to choose your first waypoint and add it to your route. Keep adding waypoints until you have reached the destination.
Once you have plotted the route, pressing “go to” or “start” will initiate the route. This provides you with bearings along the way so you can stay on the charted course. To create the reciprocal route, you typically just need to choose the return waypoints and press “start” again.
The chartplotter will typically show current information such as speed, compass bearing, and course while you are moving.
Ded Reckoning
Using a chartplotter means you don’t need to perform ded reckoning. The electronics make sure you always know where you are, what speed you’re moving at, and how far you’ve gone.
Practice Your Navigation Skills
Learning the basics of boat navigation is just the beginning. You’ll need to practice the navigational skills in the water so that it becomes second nature to you.
Knowing traditional methods of navigation will help keep you safe and oriented on the open water.
Are you looking for more boating expertise? Contact us today with all your questions!